
Hello Friends,
Today it’s all about Stain Glass Foil Leaves. Its sure is a great technique to showcase the fall color on leaves.
This card was designer for Falliday Blitz at Splitcoaststampers. It was showcase Friday on their site. You can click here to view and get the step by step with picture. Also I have the How To Video below or you can view on splitcoaststampers.
Falliday Fest
Click on the picture about to see the lovely project on Splitcoaststampers for the Falliday Fest.
To find all detail on my project on their site CLICK HERE for the direct page.

Measurements
- Whisper White Thick 11 x 4¼ score at 5½
- Early Espresso 5-3/8 x 4-1/8, 2¼ circle
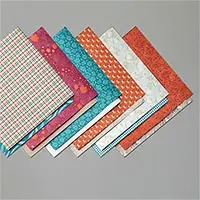
- Come To Gather Designer paper 5¼ x 4, 2″ Circle
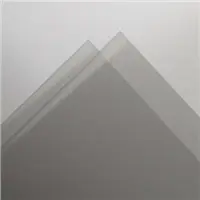
- Window Sheet 3 x 3
- Adhesive sheet 3 x 3
- Aluminum foil 5 x 5
Step by step
Here the simple step by step and I recommend watching the video for great tips.
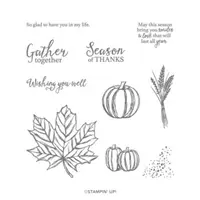
- Stamp the leave on window sheet using Versamark ink
- Heat emboss with black embossing powder.
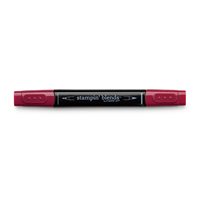
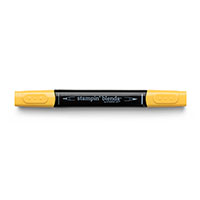
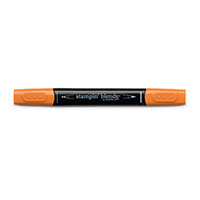
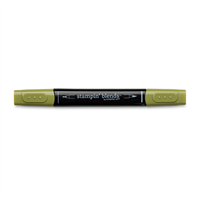
- Color the the leaf on the back of the embossed window sheet using Stamping Blends. Colors are: Daffodil Delight, Pumpkin Pie, Cherry Cobbler and Old Olive.
- Place wrinkle aluminum foil on adhesive sheet. Press with bone folder and peal the foil. *great tip in the video.
- Place window sheet leaves on the adhesive side of the foil.
- Cut Out the the leaf.
- Assemble card.
The video show all step by step and many great tips. I would say it is a must watch to see how this is done.
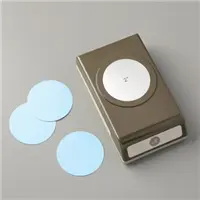
The greeting I stamp on the designer paper then punch out with the 2″ circle punch. Mount it on a 2¼ early espresso circle then onto the card front using dimentionals. The leaf I adhere with glue dots.
All supplies is at the bottom.

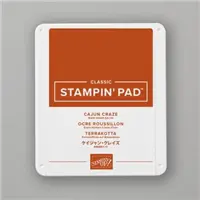
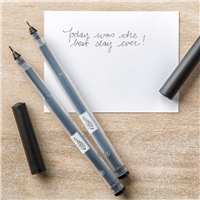
For this one I stamp the pumpkin using Cajun Craze ink and color with Pumpkin Pie blends. The little curly thing at the top I used the Journaling Pen and draw the little curls.
Close up look at the Stain Glass Foil Leaf

In the picture above you can see the wrinkle of the foil. This is what give the look of the stain glass.
How to Video
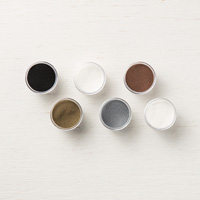
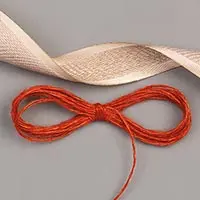
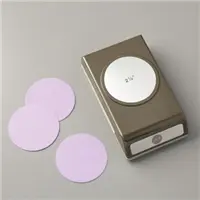
Supplies to make today cards
Here the list of the Stampin’Up! product that I used to make today cards. Not listed are the aluminum foil that can purchase at box store and the adhesive sheet you can fin at many store or CLICK HERE to purchase on Amazon.
To purchase Stampin’Up! product just click on the image below.
Thank YOU so much for your support.
Customer Appreciation.
 All order of $40.00 or more before tax and shipping place on my online store with Hostess Code FTHD4QGN will qualified for this month projects download. The PDF’s are design by Frenchie’s Design Team. If your order is $40 or more before tax and shipping and you enter the hostess code you will receive the PDF by email.
 This month PDF include 5 cards total and 2 3-D project.
PDF include all measurement, step by step instruction, supplies list, individual pictures.
All qualified order will receive the download by e-mail in less then 48 hrs, from the time the qualified order is place. CLICK HERE to shop with me.
If your order is over $150 DO NOT enter the hostess code and you will get all the stamping rewards and I will send you the PDF.
Extra download for this month.










Frenchie, I am absolutely going to try this in the next couple of days! I love it! I am so very happy I got to see this on your page tonight. It’s the kind of stamping that I enjoy doing! I love trying new things and I don’t mind fussy cutting at all! To me, it’s kind of relaxing to sit and cut things out!
Thank you so very much for continuing to show us how to be better stampers! I am going to make some of these leaves for the Thanksgiving cards I’m working on for the sick and shut ins from our Church!