
By popular request, I share Tips to stamp and add color to Linen Paper. We need to see and touch the Linen paper to see the true value.
This video is way overdue when Stampin’Up! Release the Linen paper last year mentioned I couldn’t wait to create with the paper, and I would share my tips. How time flies, and almost a year later, I finally have my tips video.
Tip video to share how to add color and stamp on Linen Paper.
This video is a bit longer than my regular video, but I feel you have all been waiting for tips to create with the linen paper, so I share all that I know in one video.
What to do with Linen Paper

In the video, I share many tips and techniques for using linen paper in your paper crafting. I share how to
- Adding Color
- Silhouette
- Stamping
- Tied-Die
- Embossing
I will share each card in the coming week. This will make it easier to find specific techniques than all shoving in one post. Today, I will share the simple way to emboss on linen paper.
Emboss On Linen Paper

Embossing on Line paper is just like embossing on card stock. The first thing is to remove the backing of the linen paper and adhere the linen to card stock. I like to stick to basic white thick, but regular card stock also works perfectly. The reason why I prefer thick for embossing with linen is that it gives a more profound imprint.

After placing the Linen Paper on card stock, emboss with your favorite embossing folder just like you would with card stock.
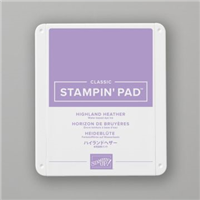
Today, I used the Blending Brush and Highland Heather ink to add color to these cards. For the portrait card, I used Wink Of Stella to add the glimmer, and it also bleeds the ink to add character to the card.

Measurement
- Basic White 11 x 4 ¼ score at 5 ½ or 8 ½ x 5 ½ score at 4 ¼ card base
- Highland Heather 4 x 5 ¼, die-cut the 3 ¼ banners of the 3″ circle from this layer
- Basic Thick White 3 ¾ x 5. This is the piece to adhere to the linen and emboss. Die-cut the 2 ½ circles before embossing, place back the circle in the open and then emboss.

Supplies for today’s project
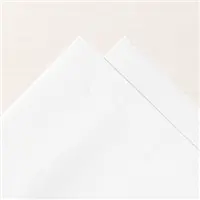
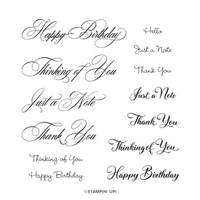
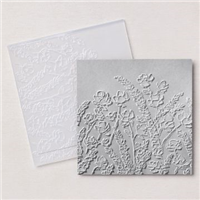
To purchase the supplies used for today’s project, click on the images below ↓. Then, click add all to the cart.
Also, don’t forget to EDIT your cart as needed; click continues shopping if you need additional items. In conclusion, you can edit the shopping cart at any time while you are shopping.
Thank YOU for your support and business.

Customer Appreciation
 Orders of $40.00 or more before tax and shipping placed on my online store with Hostess Code P6JGXXYK will qualify for this month’s project download. The focus product this month is the Sun Prints Suite.
This month’s PDF download includes four cards with a portfolio. In addition, the download contains all measurements, step-by-step instructions, a supplies list, and individual pictures. Frenchie’s Design Team designs the PDF.
After placing a qualified order, you’ll receive the download by email in less than 48 hours. CLICK HERE to shop with me.
If your order is over $150, in this case, DO NOT enter the hostess code. You will get all the stamping rewards, and I will send you the PDF by email.
Not to forget about my “Frequent Buyer Rewards Program” so you may want to track your purchase and earn a free stamp set of your choice, or Sponge Dauber Case and more choices. For all detail and the track sheet, CLICK HERE. You are responsible for tracking your purchase.
Have a lovely day!
Till next time Happy Stamping!
Meanwhile, the greatest compliment you can give me is a referral to a friend. Many thanks for considering my request.








Beautiful cards, Thank you for sharing this technique
and a reminder of the paper. I wondered what to do
with this different texture paper.
Wonderful tutorial that has taken the guess work out of different ways to use the linen paper. Thank you for sharing!