
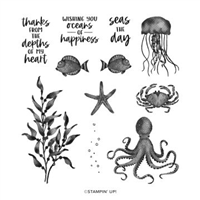
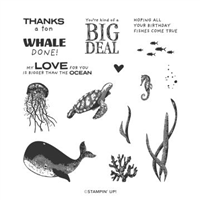
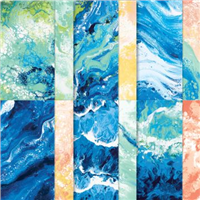
An old-time technique with new products. I am sharing a Waterfall Card With Seas The Day and Waves of the Ocean designer paper. I like these two combinations for the waterfall card technique.
I did the waterfall card vertical and horizontal. Both are the exact measurement and the same to assemble the only difference is the direction of the image; I explained the difference in the video below.
Video To Share How to Create A Waterfall Card
I share a simple way to create a waterfall card in this video. Of course, creating a waterfall card is more than one way, but I think what I am about to share is one of the most simple ways to make this interactive card.
Waterfall card in action
A picture is difficult to share a waterfall card in action, so I share the 16-second video above to show the waterfall in action. It is so fun to watch the motion of the card flipping.
Showcase of Waterfall cards

I try both directions for the waterfall, the vertical and horizontal. I like both directions, but I do have to say I like the stamping on the designer paper much better than the white cardstock. The reason is that the little sea creatures look like they are in the water where I stamped them on the designer paper.

The card above is the horizon layout, and it is stamped on white card stock.
Note that you can do this technique for so many occasions. Here are some different ideas to do the waterfall
- For birthdays: cake, balloon, cupcake, streamers.
- Welcome Babies: Clothing, rattle, toys, teddy bear.
- Wedding: rings, his, hers, cake, flowers.
- Graduation: diploma, hat, gown, congrats…
These are just a few ideas. I am sure we could continue with many more ideas to do the waterfall card.

Measurements
- Saft Succulent 8 ½ x 5 ½ score at 4 ¼ or 11 x 4 ¼ score at 5 ½ card base
- Basic White front Layer 4 ⅛ x 5 ⅜, 4 x 5 ¼ inside
- Waves Of The Ocean layer 4 x 5 ¼
- WATERFALL 4 of 1 ⅞ x 1 ⅞ Designer paper and basic white or just the basic white
- Soft Succulent 9 x 2 score at 2, 2 ¾, 3 ½, 4 ¼ for the pull piece, and 1 x 4

Now the vertical one. The one thing that I like more from the vertical card compare to the horizontal it’s nothing to do with the direction of the layout but how I stamp on the designer paper. I love the look of the flow when you pull, and the fall looks like water from the designer paper. It seems like the little sea creatures are in the water. Now looking at this, I should glue a piece of designer paper in the back of the white. Also, it would have been a total effect of the waterfall. The more we make, the more we learn.


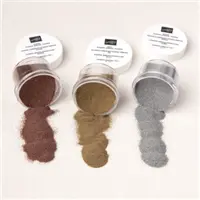
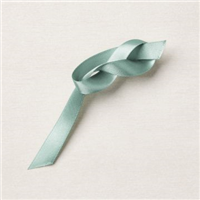
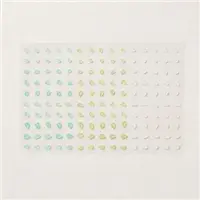
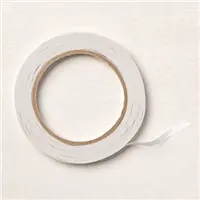
Supplies for today’s project
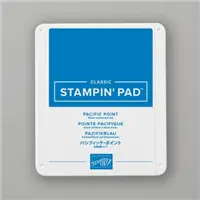
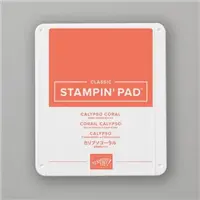
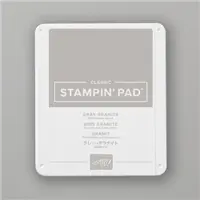
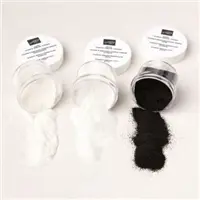
To purchase the supplies used for today’s project, click on the images below ↓Click add all to cart.
Also, don’t forget to EDIT your cart as needed, click continues shopping if you need additional items. In conclusion, you can edit the shopping cart at any time while you are shopping.
Thank YOU for your support and business.

Customer Appreciation
 Orders of $40.00 or more before tax and shipping placed on my online store with Hostess Code Z9AEYY76 will qualify for this month’s project download. The focus product this month is the New Horizons Designer paper.
This month’s PDF download includes TWELVE unique cards, including fun folds. All measurements, step-by-step instructions, supplies list, individual pictures are part of the download.
Frenchie’s Design Team designs the PDF.
After placing a qualified order, you’ll receive the download by email in less than 48 hours. CLICK HERE to shop with me.
If your order is over $150, in this case, DO NOT enter the hostess code. You will get all the stamping rewards, and I will send you the PDF by email.
Not to forget about my “Frequent Buyer Rewards Program” so you may want to track your purchase and earn a free stamp set of your choice, or Sponge Dauber Case and more choices. For all detail and the track sheet, CLICK HERE. You are responsible for tracking your purchase.
Have a lovely day!
Till next time Happy Stamping!
Meanwhile, the greatest compliment you can give me is a referral to a friend. Many thanks for considering my request.









Very lovely card France. The colors are beautiful. Will have to put this one on my list for sure. The waterfall looks pretty easy to make. Be safe, be well & TYFS & a very Joyeuse Paques!
Thank you for the beautiful and creative card.
Thanks for sharing all the instructions.
You are so welcome glad you enjoy it