Hello Stampers,
Want to learn how to stamp and color on Color Velveteen Paper? I have the How-To Video for you all. This is such a wow effect and I want to say Thank you to Lori Turner one of my teammates to share this technique with me. The minute I saw her card I was on a mission to give it a try. Pictures are never justice so I say it is a must-try.
I have the How-To Video below that I recorder a month or so ago live on YouTube.

Step by step on how to stamp and color on velveteen paper
- Place the stamp on the Stamparatuse
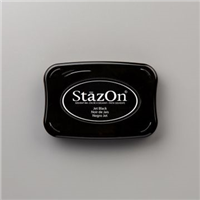
- Stamp with Stayson Ink *I place my paper at the corner of the Stamparatus to keep the stamp position and paper. It is very important to keep the position of paper and stamp because you will stamp over again after you color it.
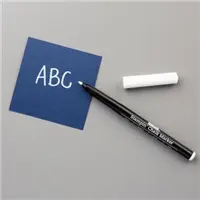
- Color the white with Chalk Marker. You can color over a few times.
- At the same position stamp again with Stazon over a few times.
- Voila! this simple
Measurements
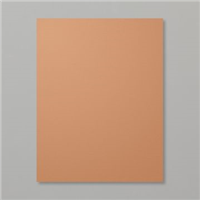
- Card Case 8½ x 5½ score at 4¼ Whisper White or Cinnamon Cider
- Layer 5-36/8 x 4-1/8 Whisper White or Cinnamon Cider
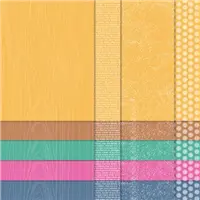
- In Color 2020-2022 Designer Paper 5¼ x 4
- Whisper White 3-5/8 x 3-5/8
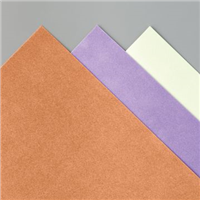
- Cinnamon Cider Velveteen paper 3½ x 3½, 1 x 4
StazOn Ink Color Choice
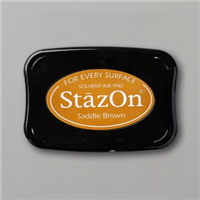
I try with both the brown and black StazOn ink. The top cards are black ink and below with brown ink. For this technique, I think the black is better because it is more vivid and show the detail better, plus the brown I had to stamp way to many time to show the color on this cinnamon cider velvet paper.

How To Stamp And Color On Velveteen Paper Video
This video was recorded live at lunchtime.
Gift Certificate Available

Last-minute shopping? No problem you can order gift certificate. Click Here to request them.
Supplies for today project
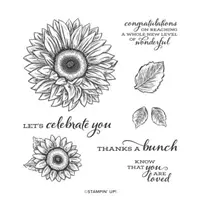
You can purchase all of the supplies used for today’s project by clicking on the product images below ↓ Or you can click ADD ALL to Cart, this will add all the supplies to your shopping cart. Then you can remove the items you do not need. The ADD ALL to Cart Option makes it easier and you will not have to go back and forth to my page. Don’t forget to EDIT your cart as needed. If you need additional items, you can also click continue shopping and add them to your order as well.
Thank YOU for your support and business.
Customer Appreciation
 All orders of $40.00 or more before tax and shipping placed on my online store with Hostess Code NZEXSDKM will be qualified for this month’s project download. The PDF’s are design by Frenchie’s Design Team. This month I “Frenchie” designed the cards.
Order of $40 or more before tax and shipping with the hostess code you will receive the PDF by email.
This month’s PDF includes 9 cards (3 simple cards and 6 fun fold cards) Showcasing 3 designer paper the In Good Taste, Forever Greenery, and Peony Garden.
PDF includes all measurement, step by step instruction, supplies list, individual pictures.
All qualified orders will receive the download by e-mail in less than 48 hours, from the time the qualified order is place. CLICK HERE to shop with me.
If your order is over $150 DO NOT enter the hostess code, you will receive all the stamping rewards and I will send you the PDF by email.
Don’t forget about my “Frequent Buyer Rewards Program” Track your purchase and earn a free stamp set of your choice, or Sponge Dauber Case. For all detail and track sheet CLICK HERE. You are responsible to track your own purchase.
Have a lovely day!
The greatest compliment you can give me is a referral to a friend. Thanks in advance!


