
Hello Friends,
Fun technique and great tips for today. How to make a flower vase with window sheet and adding glue for a faux illusion of water inside the vase. All step by step can be view in the video. Plus extra tips for the Timeless Tulips stamp set to align in one setting with the tulip builder punch.
The video can be view below or on my YouTube channel.

Measurement
- Blushing Bride 8½ x 5½ score at 4¼ card base
- Rococo Rose 5-3/8 x 4-1/8
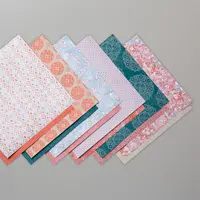
- Woven Threads Designer paper 5¼ x 4
- Whisper White 5¼ x 4, Scrap for the tulips
- Pear Pizzazz scrap for the leaves and sliver for the stems
- Window Sheet 2½ x 2¼

Tip for the vase and the water faux illusion
This is so simple but allows time to let dry. Here the step by step.
- Die-cut oval 2½ x 3¾ out of window sheet. Punch out about ¼” of the 1″ circle at the top and bottom cut ½” straight (all show in the video)
- Place the window sheet (vase) onto a silicone sheet and apply the fine-tip glue or crystal effect 1½ at the bottom.
- Let dry. This will take a few hours to dry.
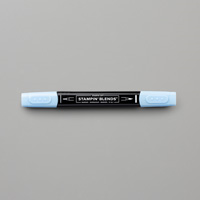
- Using the seaside Spray dark stamping blends color the DRY glue to give the tint of light blue for the water.
- VOILA! you have your vase with the faux illusion of water.

To build the tulips arrangement see the video. It sure look like the stems are in the water.

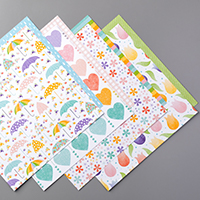
Tulips arrangement from the Please As Punch Designer Paper

This one I use the designer paper Pleased As Punch for the tulips and leaves. Punch out with the tulips builder punch. Vase and stem are done the same. Note that I sue the Night Of Navy blend for the water on this one. I prefer the Seaside Spry for a lighter blue. At first, I use the Seaside Spray and thought it was not dark enough well water shouldn’t be this dark. The more you try the better result you get, right? Also the water I use the crystal effect you can see the sparkle in the water.

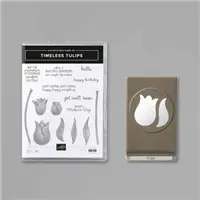
Tip to align the stamps with the tulip builder punch
Starting with a strip of 3″ wide of whisper white card stock punch out the tulip with leaves at one end. Place the negative at the corner of the Stamparatus. Place the large tulip inside the opening, flat side facing up. Close one of the plates and press on the stamp, lift and it is all align and ready to stamp. Repeat for the leave using the other plate. This way you will have one plate with leave and one plate with the tulips so it is easy to stamp in different colors.
Now start the stamping. Using a strip of 3″ wide stamp the tulip and leave, punch out then cut out the negative and repeat for more flower….. All is shown in the video.

How to video
Supplies
You can purchase all of the supplies used for today’s projects by clicking on the product images below ↓ Or you can click ADD ALL to Cart, this will add all the supplies to your shopping cart. Then you can remove the items you do not need. The ADD ALL to Cart Option makes it easier and you will not have to go back and forth to my page. Don’t forget to EDIT your cart as needed. If you need additional items, you can also click continue shopping and add them to your order as well.
Thank YOU for your support and business.


Customer Appreciation
 All orders of $40.00 or more before tax and shipping placed on my online store with Hostess Code PRVAQWKW will be qualified for this month’s projects download. The PDF’s are design by Frenchie’s Design Team. Order of $40 or more before tax and shipping with the hostess code you will receive the PDF by email.
This month’s PDF includes 7 cards. The theme is Spring Time.
PDF includes all measurement, step by step instruction, supplies list, individual pictures.
All qualified orders will receive the download by e-mail in less than 48 hrs, from the time the qualified order is place.
CLICK HERE to shop with me.
If your order is over $150 DO NOT enter the hostess code, you will receive all the stamping rewards and I will send you the PDF by email.
Have a lovely day!


So pretty and easy. Love this card.
LOVE IT!!!!!!! Your vase was sheer genius. Thanks for making these dreary days go by faster!