Hello Stampers,
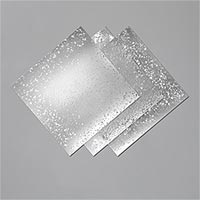
Did you notice the new design acetate in the holiday catalog? It is the Mercury Glass Designer Acetate on page 33 of the Holiday catalog. They are so much fun to create with and today I share how you can add color to it.
I have a video below or you can view on my YouTube Channel. In the video I share tips to die cut shape out of the acetate and how to add color.
What to do before using the Mercury Glass Acetate

It is a film on one side the acetate that need to be remove. To remover the film it can be a little tricky but I share tips in the video. If you start in a corner it is much easier. My best way to share and show you how to remove it, it was in action so in the video plus I have many other tip in the video. It is worth taking the time to watch it, that is if you plan on using these sheet.
They come in 2 different print. Each pack include 4 12 x 12 sheet, 2 of each print.

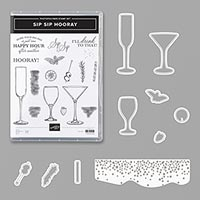
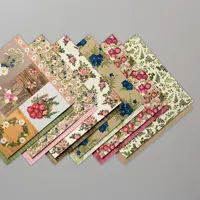
This card is so simple with the Pressed Petals Specialty paper. With this beautiful paper not much to add to finish the card. I added the tow lovely glass that I die cut with the Sip & Celebrate Dies
Pressed Petals Card Measurements
- Merry Merlot 8½ x 5½ score at 4¼ card base.
- Pressed Petals Specialty Designer paper 5¼ x 4
- Mercury Glass Designer Acetate 2¾ x 2½
- Whisper White 5¼ x 4 inside

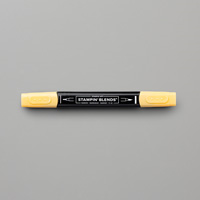
The back of the glasses are color with the dark Cherry Cobbler blends. I need to add color for red wine.


Champagne card measurement
- Smoky slate 8½ x 5½ score at 4¼ card base.
- Basic Black 5¼ x 4, ½ x 5
- Mercury Glass Designer Acetate 3¾ x 2
- Whisper White 3″ Stitched Circle, 5¼ x 4 inside
- Coastal Cabana 5 x 3¾

The back of the champagne glass I color the top portion with the So Saffron dark blends.
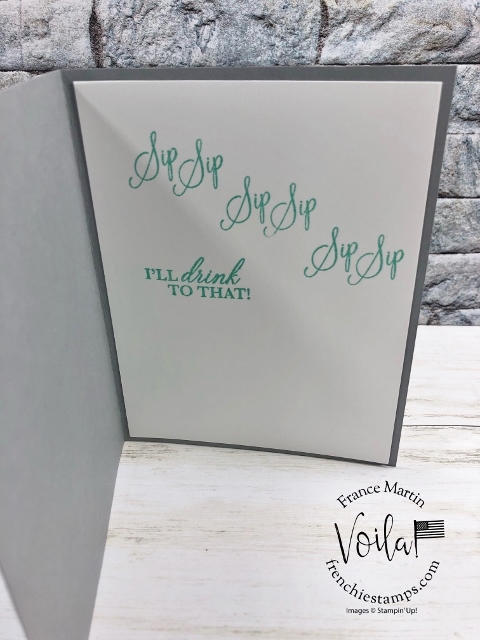
all the stamping on this card I use Coastal Cabana ink. Very quick and simple.
Now that you seen both card using the glasses with the mercury accent don’t think it just for glasses. The acetare make a lovely background for all occasion card.
How to adhere the acetate
My best advice to adhere these mercury acetate is with glue dots. Just apply the glue dots on the silver part and it will not show in the front.
I didn’t try any other adhesive then the glue dots. If you ask me if this or that work, I don’t have a answer for you because I didn’t try any other product but the glue dots. After trying the glue dots, I didn’t have the need to try any other product. The dots did the job and it is quick.
Last Chance

Today is the last chance to qualified for a free pack of red rhinestone. Click HERE for all detail
How to video
Supplies
You can purchase all of the supplies I used for today project by clicking on the product image below ↓
Thank YOU for your support and business.
Customer Appreciation
 All order of $40.00 or more before tax and shipping place on my online store with Hostess Code V6CAU7V9 will qualified for this month projects download. The PDF’s are design by Frenchie’s Design Team. If your order is $40 or more before tax and shipping and you enter the hostess code you will receive the PDF by email.
This month PDF include 6 cards, each cards are a different fold.
PDF include all measurement, step by step instruction, supplies list, individual pictures.
All qualified order will receive the download by e-mail in less then 48 hrs, from the time the qualified order is place. CLICK HERE to shop with me.
If your order is over $150 DO NOT enter the hostess code and you will get all the stamping rewards and I will send you the PDF.
Have a lovely day!

