Hello Friends,
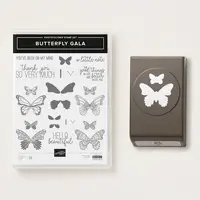
Tip for the Butterfly Gala, Butterfly Duet Punch with the Stamparatus. If you want to have many butterfly in little time, trust me, what I share in my video today will save you lots of time. For one set of butterfly well that wouldn’t be time saving but if you need multiple butterfly oh! you will love this. You set all your stamps on the stamparatus and then boom stamp away without having to align the stamps over and over and it will align in the punch each time.
I have the video at the bottom of this post or you can find it on my You Tube Chanel.
I did almost 200’s of these note card and trust me I didn’t spend days doing them. To be honest I did it while I was camping. After I set up the stamps on the stamparatus it took me about two hours to do almost 200’s set of the butterflies. The two hours is NOT to make the 200’s card but to stamp and punch the butterflies. Also during that time was watching the dog at the campsite 🙂
So yes my tip video I share many tips on time saving. I think it took me longer to color the little balls and leaves in the stem then it took stamping the butterflies and punch them out.
Measurement
- Whisper White Note Card for the base
- 2¼ x 11 strips for the butterflies on one strip you get 5 sets
Stamping step by step
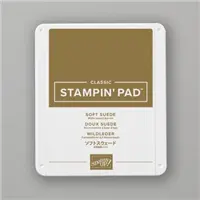
- Stamp the stem and greeting using Soft Suede
- Color the little balls using daffodil delight and leaves coastal cabana
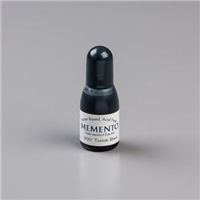
- Butterfly out line memento black ink, filler coastal cabana and daffodil delight
- the background in the back of just a note and the inside butterfly coastal cabana
Ink Spot with the Stamparatus
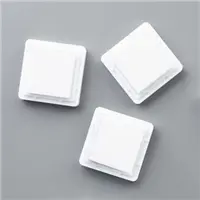
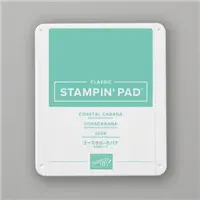
Little information about the ink spots with the Stamparatus. When it come to the stamparatus I love the ink spot. Main reason it is for the size, how easier it is to hold in your hand and tap on the stamp, specially if the stamp is small. This way I don’t rock the ink pad onto the platform and no worry about cleaning the surface it stay clean. You can always use the big ink pad but for myself I find it much easier with the sport on the stamparatus to hold the spot and tap on the stamps.
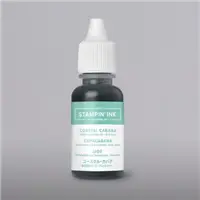
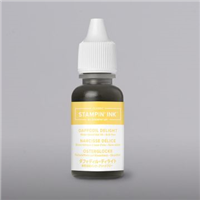
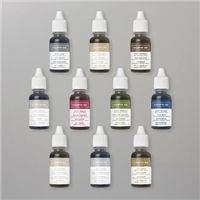
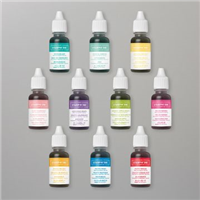
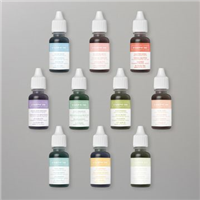
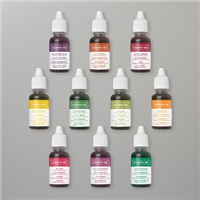
If you are a Paper Pumpkin subscriber each month you get one or two ink spot another reason to subscribe. Need detail on Paper Pumpkin CLICK HERE. Also you can buy the uninked spot and use the refill to make your own ink spots. I have the link below for the pack of 5 uninked spots with all the refill. Did you know that id you purchase the refill in collection assortment you save 10%. The refill work for the ink pads and the spots.
How to video
Supplies for the note card and spots
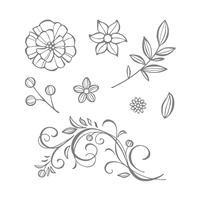
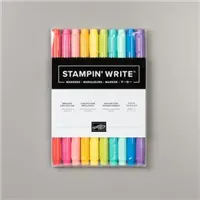
You can purchase all of the supplies I used for today project by clicking on the product image below ↓ Also I listed the 4 collection of the refill for the 10% discount. Thank YOU for your support and business.
 Customer Appreciation
All order of $50.00 or more before tax and shipping place on my online store with Hostess Code 9QXMRPHX will qualified for this month projects download.
The PDF’s are design by Frenchie’s Team and the Passport Pals.
If your order is between $40 to $49 and you enter the hostess code you will received only one PDF, the one design by Frenchie’s Team.
This month PDF include 12 cards with some variation of fold. PDF include all measurement, instruction, supplies list, individual pictures.
All qualified order will receive the download by e-mail in less then 48 from the time the qualified order is place. CLICK HERE to shop.
If your order is over $150 DO NOT enter the hostess code and you will get all the stamping rewards and I will send you both PDF.
Passport Pals team.
If in Canada CLICK HERE to Shop with Tina or HERE to visit her blog.
In the USA CLICK HERE to shop with me.
Have a lovely day!







Frenchie, did you say you would have information about how you store your ink spots? I don’t see it. Could you point me in the right direction, please, because I’m very interested in that. I converted an old paper pumpkin box, made channels of tray-like-sections from CS to fit, but I’m running out of room! Thank you! Love your tips in this video.