
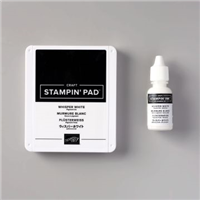
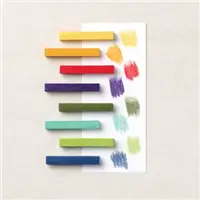
Lighting The Way In The Night for today’s share. Use the White Craft ink and the Soft Pastel for a simple technique called pastel resist for this beautiful card.
This style of card would be great for a masculine card, to support someone in a difficult time in their life, a thank you card. I can’t think of an occasion that this style wouldn’t be appropriate. So use it for all your needs.
How to create the pastel resist for the night light from the lantern
In this video, I shared the pastel resist technique, how to make the window for the lantern, and how to add color to the foil paper to show a two-tone lantern. I was happy to find a way to add a window to the lantern with a 1-¼ window sheet. All is explained in the video.
Showcase Of The Lighting The Way With The Lantern
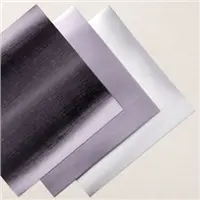
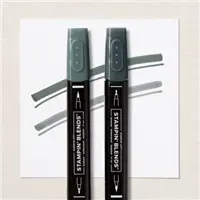
As mentioned, all is explained in the video, but I tried a different combination of cardstock and will list all colors below each card. For each card, the lantern is die-cut from silver foil specialty paper. In the Silver foil paper, there are three different tones of Silver. To add red or green to the Silver, I use the Stampin’ Blends. (tips in the video to color foil with blends)

Card Stock: Daffodil Delight, Cherry Cobbler, and Night Of Navy.

Card Stock: Basic Black, Daffodil Delight, and Pacific Point. Same colors for the above and below cards. The card above I splatters Wink Of Stella.


Card Stock: Basic Black, Daffodil Delight, and Balmy Blue. I platter Wink of Stella on this card front.


Most cards are the exact measurement, just different color card stock.
- Card Base 11 x 4-¼ score at 5-½ or 8-½ x 5-½ score at 4-¼
- Middle layer 4-⅛ x 5-⅜
- Top layer 5-¼ x 4
- Basic White for the inside insert 8 x 5-¼ doe the black base and for the daffodil delight 4 x 5-1/5
- Silver Foil 4 x 2-½
- Window Sheet 1-¼ circle can be cut with dies or punch
- Small flies are in Daffodil Delight.
- The big fly’s body is Daffodil Delight, body with wings basic black or cherry cobbler and large wings out of vellum.
Supplies for today’s project
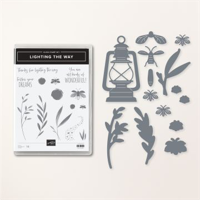
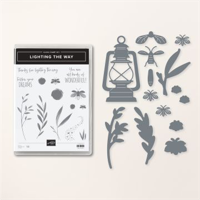
To purchase or view the supplies used for today’s project, click on the images below ↓; click add all to the cart.
You can EDIT your cart as needed; click continues shopping if you need additional items. In conclusion, you can edit the shopping cart while you are shopping.
Customer Appreciation
 Orders of $40.00 or more before tax and shipping placed on my online store with Hostess Code HRTNEQVT will qualify for this month’s project download.
This month’s PDF download includes step-by-step instructions for six Easter projects, supplies lists, and individual pictures. Frenchie’s Design Team designs the PDF each month.
After placing a qualified order, you’ll receive the download by email in less than 48 hours. CLICK HERE to shop with me.
How to apply the host code
 The host code is applied to the shopping bag. Please verify that you are shopping with me to ensure you are getting my customer appreciation. You will see my name, “France-Frenchie Martin” if not, click find a demonstrator, type in my name, then select.
Step by step
Click On Shopping Bag
Add Host Code
A box will open to type in the host code; enter the code.
Click Apply
If you encounter any problem placing your order, you are always welcome to contact me, and I will place your order. CLICK HERE to contact me.
New Release January-April 2023 Mini Catalog
Jan-April 2023
Note products are limited. Products are available till April 30, 2023, or while supplies last.
Never miss the latest news.
Subscribe to receive newsletter and blog posts delivered to your inbox.
Till next time Happy Stamping!
Meanwhile, the greatest compliment you can give me is a referral to a friend. I appreciate any help you can provide.












Very beautiful. Thank you for sharing all your tips and tricks. You make crafting so much fun!