
Today’s share is perfect for creating a card at the last minute. Stamp On The Go With Strips Of Designer Paper is a great way to use that stash and scrap designer paper that is collecting dust.
Do you have lots of scrap designer paper stashed away? If so, this simple layout is great for creating beautiful cards. I call this Stamp On The Go because you can make a card in very little time. So when you are on the go and need a card, this could be the layout you need. Let me share how to do it.
Tip to create a simple card with a strip of designer paper
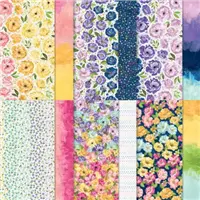
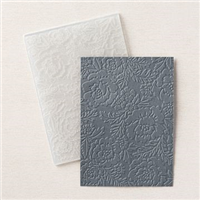
In this video, I share how to make simple cards with a strip of designer paper and one embossing folder. I use the Hues Of Happiness designer paper, but with this style card, you can use all kinds of pattern paper. Also, the embossing folder is the Pretty Flowers; you can switch with your favorite choice folder.
Hues Of Happiness and Pretty Flowers Cards Showcase

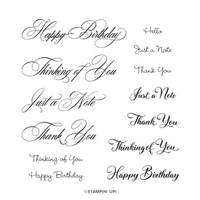
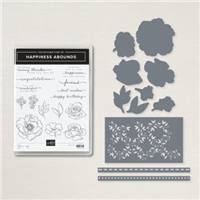
For the greeting on the card, I like to stamp a long greeting. Happy Birthdays in Happiness Abound and Go To Greeting are great sizes for these cards. The greeting is stamped at the bottom of the white layer. In the video, I share how to emboss just a portion of the white layer. This whole layer is ONE piece, and emboss just ¾ of it.


If you are a Stampin’Up! Demonstrator and wondering where I got the Happy Stampin’ Anniversary stamp? I got a personalized stamp done at rubberstamp.
It was so quick to create many dozen of these cards with leftover strips of designer paper I had stashed in my craft room.

Measurements
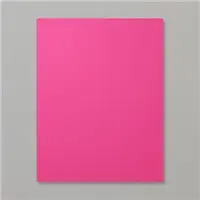
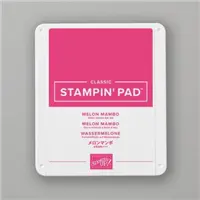
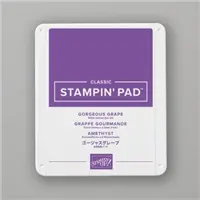
- Card base (night of navy or melon mambo or goer goes grape) 11 x 4 ¼ score at 5 ½
- Basic White 5 ¼ x 4
- Designer Paper (hues of Happiness) 4 x 1 ¼
- Layer with designer paper, the same color, then card base 4 x 1 ½
Landscape layout

If you wish to have the landscape layout in place of the portrait, emboss it on the landscape side and adjust the side of the designer paper and layer. The designer paper is 5 ¼ x 1 ¼, and the layer is 5 ¼ x 1 ½.
Supplies for today’s project
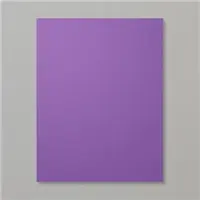
Click on the images below to purchase the supplies used for today’s project ↓. Then, click add all to cart.
Also, don’t forget to EDIT your cart as needed; click continues shopping if you need additional items. In conclusion, you can edit the shopping cart while you are shopping.
Thank YOU for your support and business.
How to apply the host code
 The host code is applied to the shopping bag. To ensure you are getting my customer appreciation, verify that you are shopping with me. You will see my name, “France-Frenchie Martin” if not, click find a demonstrator, type in my name, then select.
Step by step
Click On Shopping Bag
Add Host Code
A box will open to type in the host code; enter the code.
Click Apply
If you encounter any problem placing your order, you are always welcome to contact me, and I will place your order. CLICK HERE to contact me.
Customer Appreciation
 Orders of $40.00 or more before tax and shipping placed on my online store with Hostess Code FMNWTQVQ will qualify for this month’s project download.
This month’s PDF download includes a stamped One Sheet Wonder 8-½ x 11, five cards included fun fold. In addition, the download contains all measurements, step-by-step instructions, supplies lists, and individual pictures. Frenchie’s Design Team designs the PDF each month.
After placing a qualified order, you’ll receive the download by email in less than 48 hours. CLICK HERE to shop with me.
If your order is over $150, in this case, DO NOT enter the hostess code. You will get all the stamping rewards, and I will send you the PDF by email.
Not to forget my “Frequent Buyer Rewards Program” so you may want to track your purchase and earn a free stamp set of your choice, or Sponge Dauber Case and more choices. For all detail and the track sheet, CLICK HERE. You are responsible for tracking your purchase.
Have a lovely day!
Till next time Happy Stamping!
Meanwhile, the greatest compliment you can give me is a referral to a friend. Many thanks for considering my request.






Loved this video! Thanks for the help!
Thank you, I wondered what to do with the left over DSP.
Thank you for sharing.
You could use this idea with the holidays coming, Thanks for the ideas,
Frenchie, since I am new to stamping could you also show the inside of the card also when you are posting. I like to print the insides so I know how to complete the look of the card. Thank you.