
Hello Friends
Today I am the guest tutorial author on Splitcoaststamper. I shared how to Emboss With Detail die. Such a great technique to do with detail dies. This gives you dual purpose with detail die. It’s a great investment when you get more use of products.
To see the full article on Splitcoastampers click here. Also, I have the video below.

Step by steps how to emboss with detail dies
- Platform *DO NOT ADD the adapter
- Clear Plate
- Silicone Craft Sheet
- Card stock. I used silver foil.
- Die sharp edge facing down onto the paper.
- Copie paper if using foil. (this will protect your foil so you do not get any marks for the clear plate.
- Clear Plate
- Shim. (2 piece of cardstock)
- Pass through the embossing machine of your choice.

Closeup look

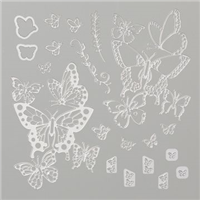
I love how this Butterfly Beauty dies look when I emboss on silver foil. All the detail die are amazing to emboss with. Give it a try.
Measurements
- Silver Foil-Edged Card base
- Basic Black 5-3/8 x 4-1/8
- Silver Foil 5¼ x 4, 3 x 1 (for the scallop tag, after your punch out the tag cut at 2 x 1)
How to add color

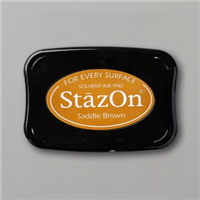
The one above I drags the StazOn Brown heavy and light on the black. Sure look like I used Gold Foil but it is silver. If you use cardstock you could always sponge or drop color ink. When it comes to foil paper only StazOn will work to add color.
The more that I look at this one they’re that it looks like wood grain. What do you think of the brown StazOn?

How-To Video
This is the video that I did to share with Splitcoaststampers.
Supplies for today project
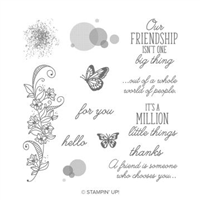
You can purchase all of the supplies used for today both cards by clicking on the product images below ↓ Or you can click ADD ALL to Cart, this will add all the supplies to your shopping cart. Then you can remove the items you do not need. The ADD ALL to Cart Option makes it easier and you will not have to go back and forth to my page. Don’t forget to EDIT your cart as needed. If you need additional items, you can also click continue shopping and add them to your order as well.
Thank YOU for your support and business.
More sample with emboss detail dies
Here are some cards that I share a few months ago. The first 2 are with the Gear Up Garage and the last one is Sending Flowers. I have the how-to video for these dies. CLICK HERE to view.
Customer Appreciation
 All orders of $40.00 or more before tax and shipping placed on my online store with Hostess Code TTXFWDQF will be qualified for this month’s projects download. The PDF’s are design by Frenchie’s Design Team. Order of $40 or more before tax and shipping with the hostess code you will receive the PDF by email.
This month’s PDF includes 6 masculine cards (A Good Man)
PDF includes all measurement, step by step instruction, supplies list, individual pictures.
All qualified orders will receive the download by e-mail in less than 48 hrs, from the time the qualified order is place. CLICK HERE to shop with me.
If your order is over $150 DO NOT enter the hostess code, you will receive all the stamping rewards and I will send you the PDF by email.
Have a lovely day!




I have tried to do this technic, but never works, but with your detailed directions I will try again. Thank you.
I had to adjust the shim a bit, but, after trying a few it came out beautiful. Thank you for such. Beautiful card, great technique and easy to follow instructions. Please keep the great ideas coming.