
Hello Friends,
Today String Art is using some Stitched Die. The Stampin’Up! stitched die are perfect for these sting art. They are a little bit more time consuming then the heart doilies that I share last week but still simple. If you miss last week post with the Heart Doilies click here to view.
Tips and trick when doing string art with stitched dies
I have a few tips and trick when using the stitched die to do the sting art. Here my best tips.
- ONLY pass the string in every other stitch. If going in every stitch it tend to rip.
- Use a fin needle
- When you go under with the string, first pock the needle at the top to enlarge the stitch, then go under. All is show in the video.
- Use tape to hold the stitch in the back. When you start and every time you start a new sting and finish.
- I recommend no more then 30″ inch of string at a time. Longer then 30″ tend to get all tangle.
This are my best tips and trick.

The Metallic Bow
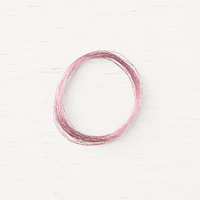
The bow it about 12 loop on each side. The bow I call it “Billie Bow”. I have a older video if you want to see how this is done CLICK HERE. It is simple even for the one that are challenge at bow making. I wrap the thread around 2 of my fingers about 12 times and use another piece of thread to tie in the center. Voila! you have a amazing fully bow.
Measurement
- Whisper White 8½ x 5½ score at 4¼ card base
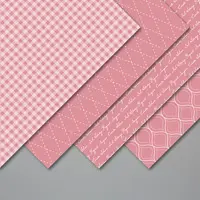
- Designer Paper 5¼ x 4
- Basic Black or Whisper White, Stitched So Sweet rectangle 3-1/8 x 2
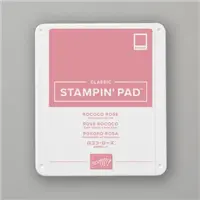
- Circle Rococo Rose 1¾ and Whisper White 1½
- Extra Strip Whisper White or Black 4 x 1
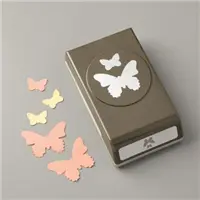
- Whisper White scrap for the butter fly
Both card are the same measurement. I just switch the layout top and bottom.

Here you can see clearly how it all flow together.The center is cool how it look like a big knot but it just how it cross all over.

Partial string for the butterfly.

When I was working on this one and was about to add another string I say the wing of a butterfly. I stop right there and added a butterfly in the center. So we surly don’t have to do every stitch to make a piece of sting art. I love how this turn out with the butterfly in the center. What you think? Should I done the entire piece?

Supplies for both cards
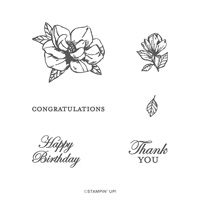
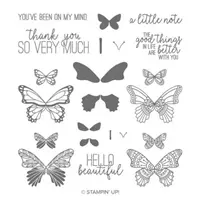
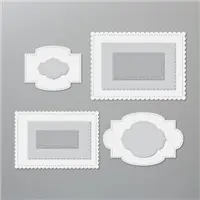
You can purchase all of the supplies I used for today project by clicking on the product image below ↓ Or you can click ADD ALL to cart, this will add all the supplies in your shopping cart, then you can edit your cart.
This is an easy way for a one click and have all the list without going back and forth. Don’t forget to edit your cart, you can click continue shopping if you need more products.
Thank YOU for your support and business.
How to video
This is the same video that I share last week with the Heart Doilies String Art. I explain how to do the sting art with Stampin’Up! stitched dies in this video.
I just finish the sting on one of the Stitched Star and I have to say it is amazing look. I will finish the card soon and share. Stay tune for more string art card sample.
Customer Appreciation
 All order of $40.00 or more before tax and shipping place on my online store with Hostess Code 4JVXN2CA qualified for this month projects download. The PDF’s are design by Frenchie’s Design Team.
This month MEGA PDF include 11 cards with 19 alternative colors, 1 pillow box, 1 clear box to hold cards, 3D basket with 2 alternative colors.
All projects are with the Peaceful Poppies Suite.
PDF include all measurement, step by step instruction, supplies list, individual pictures.
All qualified order will receive the download by e-mail in less then 48 hrs, from the time the qualified order is place.
CLICK HERE to shop with me.
If your order is over $150 DO NOT enter the hostess code and you will get all the stamping rewards and I will send you the PDF.






Hi Frenchie, I personally prefer the butterly the way it is. In my humble opinion, a full card of stitches would be too much which would cause the butterfly not to stand out as it should.