
I have a video for you that you can find at the bottom of my blog post today on my blog HERE. ***If you are getting my post by e mail some server will NOT include the video so make sure to visit my blog to get all detail or you can always find my video on my You Tube Channel.


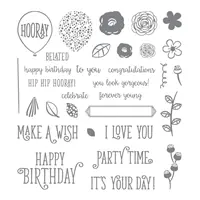
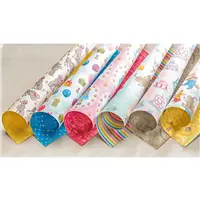
The little birthday hat are from the designer paper that I just hand cut them.


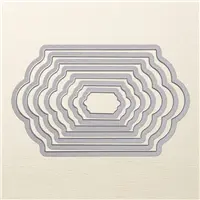
Now this is the second card. After I cut out the front of the swing card I had the label and I didn’t want to toss them I love that paper so I cut another large label in real read and cut it in half, adhere into the back over lap them so you have a nice boarder.
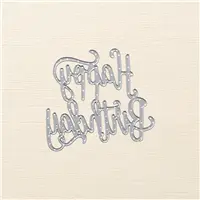
I use the adhesive sheet with the real red for the happy birthday thinlits, the adhesive sheet is a life saver when it come to adhere detail cutout.
Measurement
-Whisper White 8½ x 5½ fold in half
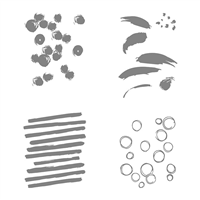
-Soft Sky 5¼ x 4 *I use the Playful Background stamp for the circle stamp in Soft Sky
–Real Red 4¾ x 3 *cut put the big label cut in half
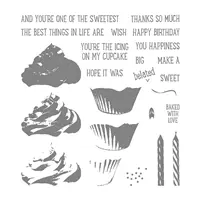
-Scrap White for the cup cake
-Cup Cake I use Pacific Point ONLY one color 1 stamp direct, 2 stamp off, 3 stamp off twice
-Frosting Crumb cake, Soft Sued ONLY one color same with the stamp off
Well my friends this is it for today till next time Happy Stamping!
Video!
[youtube https://www.youtube.com/watch?v=hVnYJmoAlNg?rel=0?ecver=1]
 Customer Appreciation. All order of $30.00 or more before tax and shipping place on my online store with Hostess Code V7SA7WT3 will qualified for the FREE PDF.
This month PDF include 5 Fall cards, PDF include all measurement, instruction, supplies list. If your order is over $150 DO NOT enter the hostess code and you will get all the stamping rewards and I will send you the PDF. All qualified order will receive the download by e-mail.
CLICK HERE to shop with me.


Once again Frenchie you shared a great card and instructions easy to follow. So happy to be part of your team
Love the card! I'm wondering about using it for a Christmas card as to what stamp set would be good?? Thanks!